Be yourself; Everyone else is already taken.
— Oscar Wilde.
This is the first post on my new blog. I’m just getting this new blog going, so stay tuned for more. Subscribe below to get notified when I post new updates.
Be yourself; Everyone else is already taken.
— Oscar Wilde.
This is the first post on my new blog. I’m just getting this new blog going, so stay tuned for more. Subscribe below to get notified when I post new updates.
Just trying to pass this class boss. I’ve done every other assignment. Preciate it. On another note, do you have any extra toilet paper?
Jacoob Hamm
To begin, I’d like to acknowledge the fact that Fusion 360 is a dream to work with compared to the nightmare known as FreeCad. I’m sure everyone in the class can agree with me on the previous statement. Overall, I enjoyed creating the deigns in this assignment and learning the capabilities of Fusion 360.
2. Lampshade. The Lampshade tutorial was a little vague in the beginning but instead of creating my own canvas I just used the one provided in the tutorial. I think it turned out well.

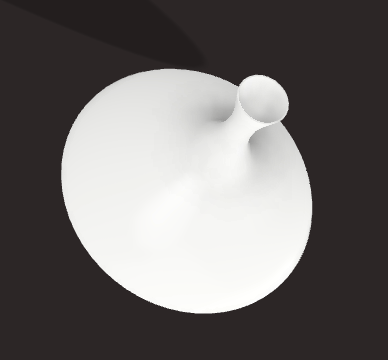
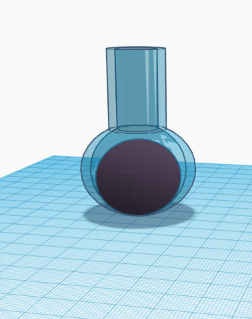
3. Flask. This part was fairly easy to create also. I used a similar method to construct this as was used in creating the lampshade. I sketched out a profile and revolved the object to create the flask. The only thing I could not figure out is how to change the water to red which really annoyed me but maybe it isn’t a deal breaker.

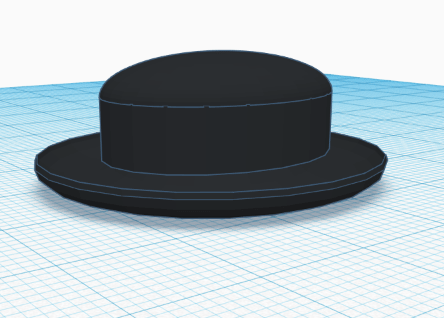
4. Bowler Hat. I made this using the revolve feature similarly to the flask. Overall I think it turned out alright.


Jacob Hamm
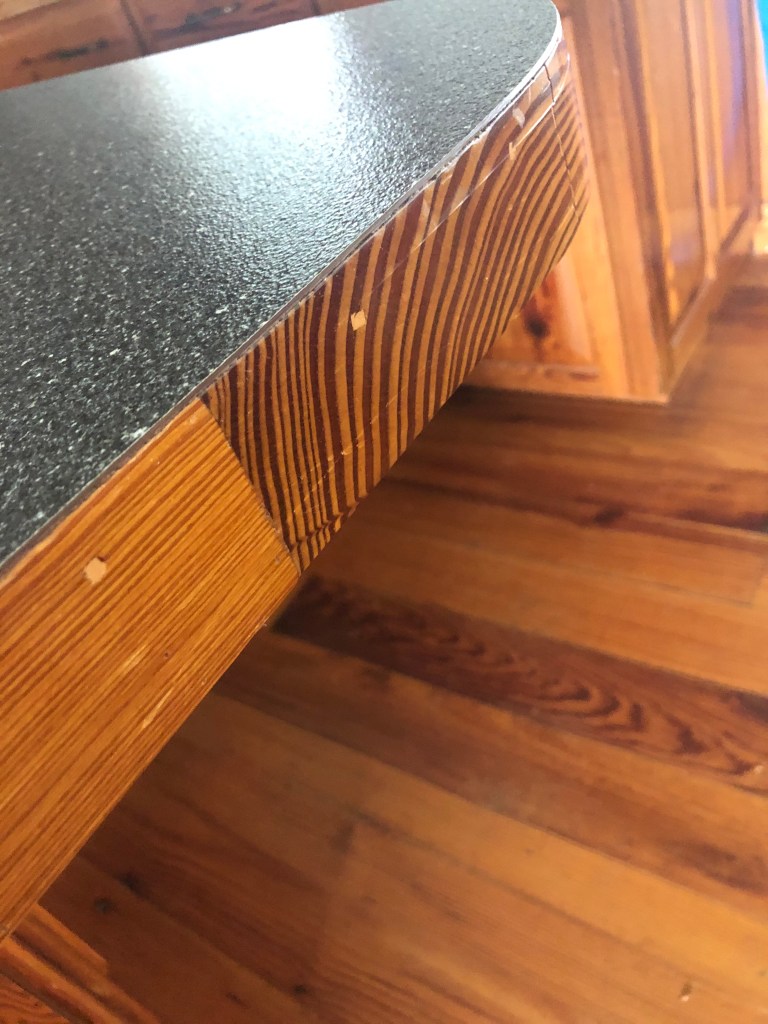
This item I have in mind would serve as a fishing lure holder that mounts on the side of a boat. The device would be a rectangular structure with multiple holes in it that would allow the user to place the hooks of multiple fishing lures inside of the part. The overall purpose of this part would be to store lures and tackle during transport from one location to another, and to protect people from stepping on hooks that may be left discarded on the boat deck. I even intend on making a larger hole that could possibly hold a pair of pliers or scissors.
Part One: Tutorial
Of course this was frustrating at first but it is a basic tutorial. The hardest part was following directions step by step and losing track of progress. It did become redundant and after a few times of you doing it in class i felt like I could do it on my own easily.
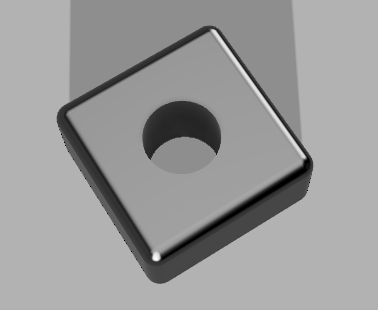
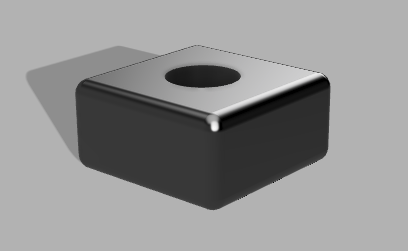
Part Two: The Wire Holder
I simply began making a rectangular prism by padding around 50mm of length to fit it a decent distance on the desk so it would not slip off from the weight of the wire. Making the whole was simple thanks to the circle tool on FreeCad that allows you to drag the circles radius the desired length. Anyways it turned out decent.

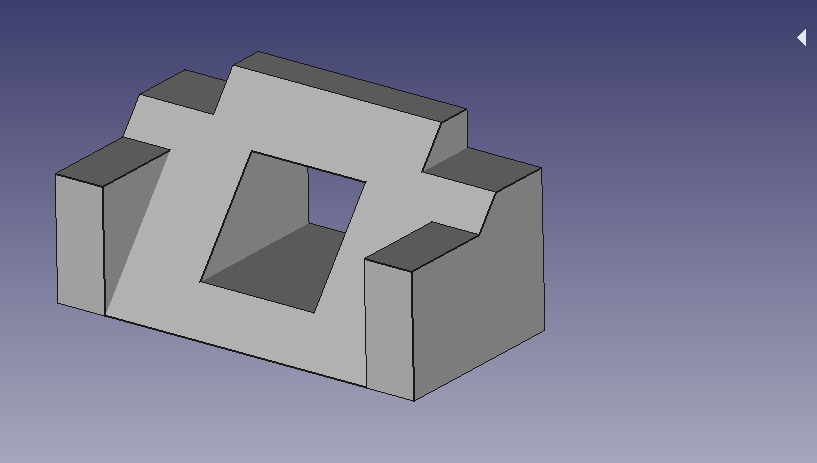
Part Three:
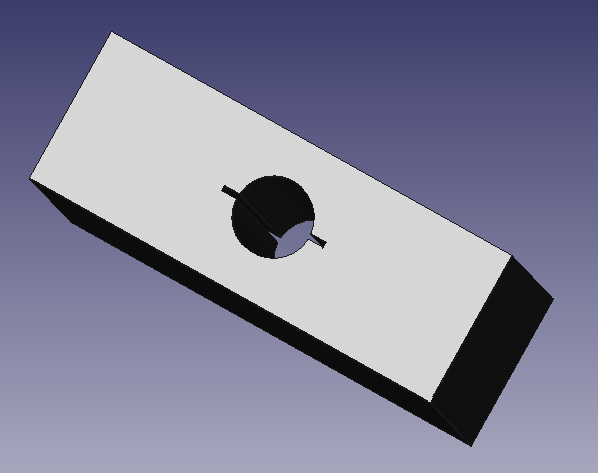
This took some thinking… I decided to make something that could slide together and be fairly self explanatory. The first part I created using a cylinder and adding rectangular pieces to the end to make a “T” at both ends of the cylinder. From there I made the second piece that this would slide into. This was made from a rectangular prism with a whole cut in the center of the exact same shape as the first shape. To use these parts in conjunction, one would slide the two pieces together where they align, then once both pieces are together, you twist the end of the cylinder so that it cannot fall through the hole anymore.

Thanks. Jacob Hamm
By: Jacob Hamm
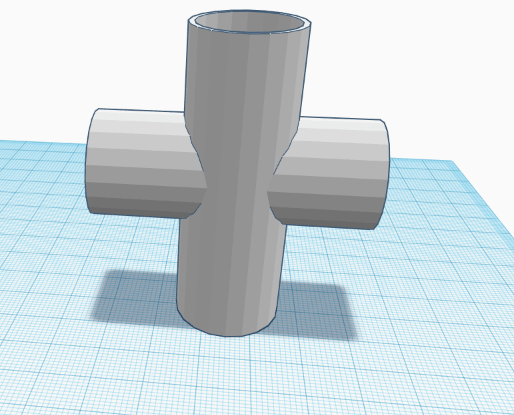
The first object I created was a duplication of a PVC 4 Way-Coupler. It was relatively easy to construct on the website taking nearly 10 mins to make the first time. This piece was used to teach the concept of voids along with sizing and color changing capabilities.
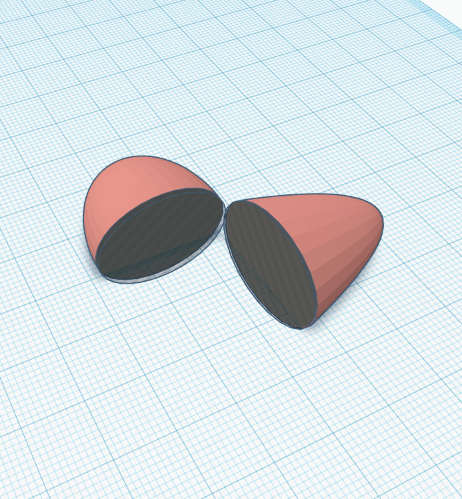
I believe the following object was the easiest to build out of all. The purpose of creating the egg was to demonstrate how to use the duplicate option in Tinkercad. The egg was constructed using a sphere for the base and a paraboloid for the top. Super simply object.
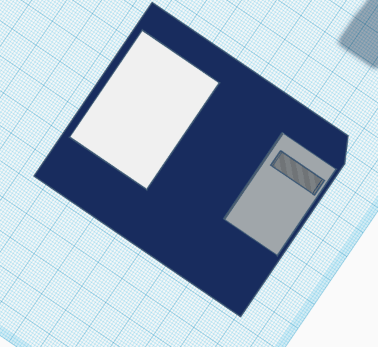
The floppy disk was a little bit more of a challenge since we were grouping separate pieces and assembling on two sides of the object. It was quite remarkable how accurate the floppy disk looked possibly since we were mainly dealing with rectangles. A simple void was used to cut the edge.

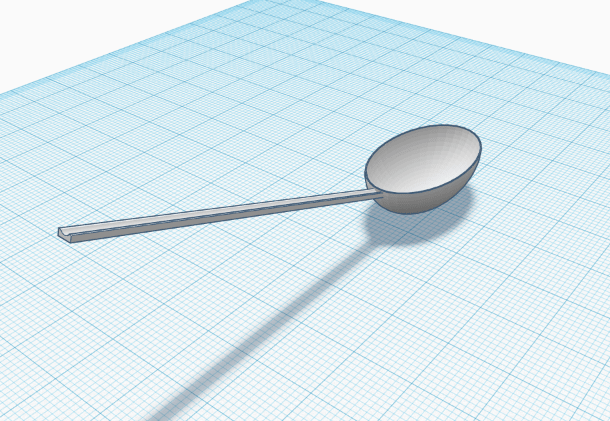
Next is the spoon. This was the first one that made me want to pull various amounts of hair out. It seemed simple enough but it took quite a long while to construct.
Here comes the infamous bowler hat. It looked far more appealing atop Von Hollen’s head than the one I created. Oh well. I tried my damnedest. It was crucial to know how to center everything using the center tool.
The flask was the first piece to use transparent material in the construction. It was extremely difficult to align the pieces to where it looked remotely right. The liquid was to be red in color.
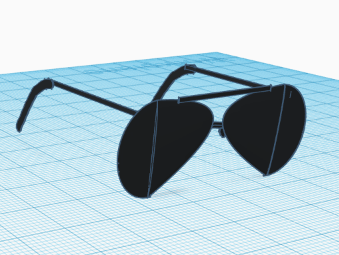
This last one was more difficult than getting accepted into Harvard University with a full ride scholarship. I spent probably 10 attempts to create the lens shape. I certainly would not buy these glasses if they were for sale at a department store. Honestly became so frustrating I had to step away from the computer and try it multiple times.
We began planning the general idea of the app quickly after first determining our groups. Jane was obviously more computer competent than the rest of the group, so she took charge of the actual app development with the app creator. The rest of us made suggestions as we went along, slowly forming a more refined idea of what the app would actually consist of. There were a few hiccups along the way mainly from attempting to including all of the required actions in the app that the assignment page requested. The overall idea of the app was a “survival style” game that allowed the user to chose their path based on items found on a deserted island after a plane crash. In order to construct this, we had to brainstorm a story line that involved finding various items after surviving a plane crash. Perhaps the most difficult part was to figure out the appropriate way to create this story line with the blocks in the app developer.
The hardest part was communicating the plot of the story into the developer with the use of the annoying blocks. It took an extensive amount of time and created some confusion among the group when communicating our ideas. The app is physically appealing and the workings are coming together nicely. We are currently just ensuring that the app hits all of the requirements.
Journal 1/15/2020
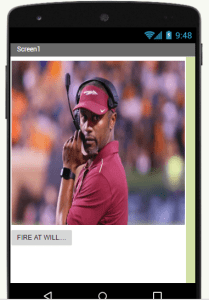
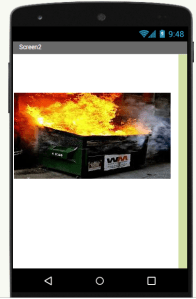
I began constructing the app by uploading a photo of the former FSU Head Football Coach, Willie Taggart, in his former glory. Under his photo, I inserted a button that included the text “FIRE AT WILL…”. It took me a while to figure out how to insert a new screen but I finally located the option to add a screen at the top of the web page. I added a second screen so that I could add a new photo. The second photo was of a dumpster engulfed in flames. Once I had all of the media uploaded into the app builder, I moved on to the blocks.
The general idea was to determine a way to make the button located under the photo on screen one, move to screen two once pressed by the user. I used the blocks to arrange a series of actions that basically said: when button one is clicked, move to screen 2. It is an extremely simple action. The emulator was a challenge to figure out but I did get it to work… once. The emulator took forever to load on my computer and I had to update it twice before anything ever even seemed to work. I will include screenshots of my work below. Thanks.

This is an example post, originally published as part of Blogging University. Enroll in one of our ten programs, and start your blog right.
You’re going to publish a post today. Don’t worry about how your blog looks. Don’t worry if you haven’t given it a name yet, or you’re feeling overwhelmed. Just click the “New Post” button, and tell us why you’re here.
Why do this?
The post can be short or long, a personal intro to your life or a bloggy mission statement, a manifesto for the future or a simple outline of your the types of things you hope to publish.
To help you get started, here are a few questions:
You’re not locked into any of this; one of the wonderful things about blogs is how they constantly evolve as we learn, grow, and interact with one another — but it’s good to know where and why you started, and articulating your goals may just give you a few other post ideas.
Can’t think how to get started? Just write the first thing that pops into your head. Anne Lamott, author of a book on writing we love, says that you need to give yourself permission to write a “crappy first draft”. Anne makes a great point — just start writing, and worry about editing it later.
When you’re ready to publish, give your post three to five tags that describe your blog’s focus — writing, photography, fiction, parenting, food, cars, movies, sports, whatever. These tags will help others who care about your topics find you in the Reader. Make sure one of the tags is “zerotohero,” so other new bloggers can find you, too.
